How to Create a Digital Ocean Account
November 30, 2024•Server
#Digital ocean#Cloud#Hosting#Domain

It may sound corny, but creating an account with DigitalOcean is actually quite a pleasurable experience. The pages are clean and only ask the bare minimum information to get you started.
First Step : Create Your New Account
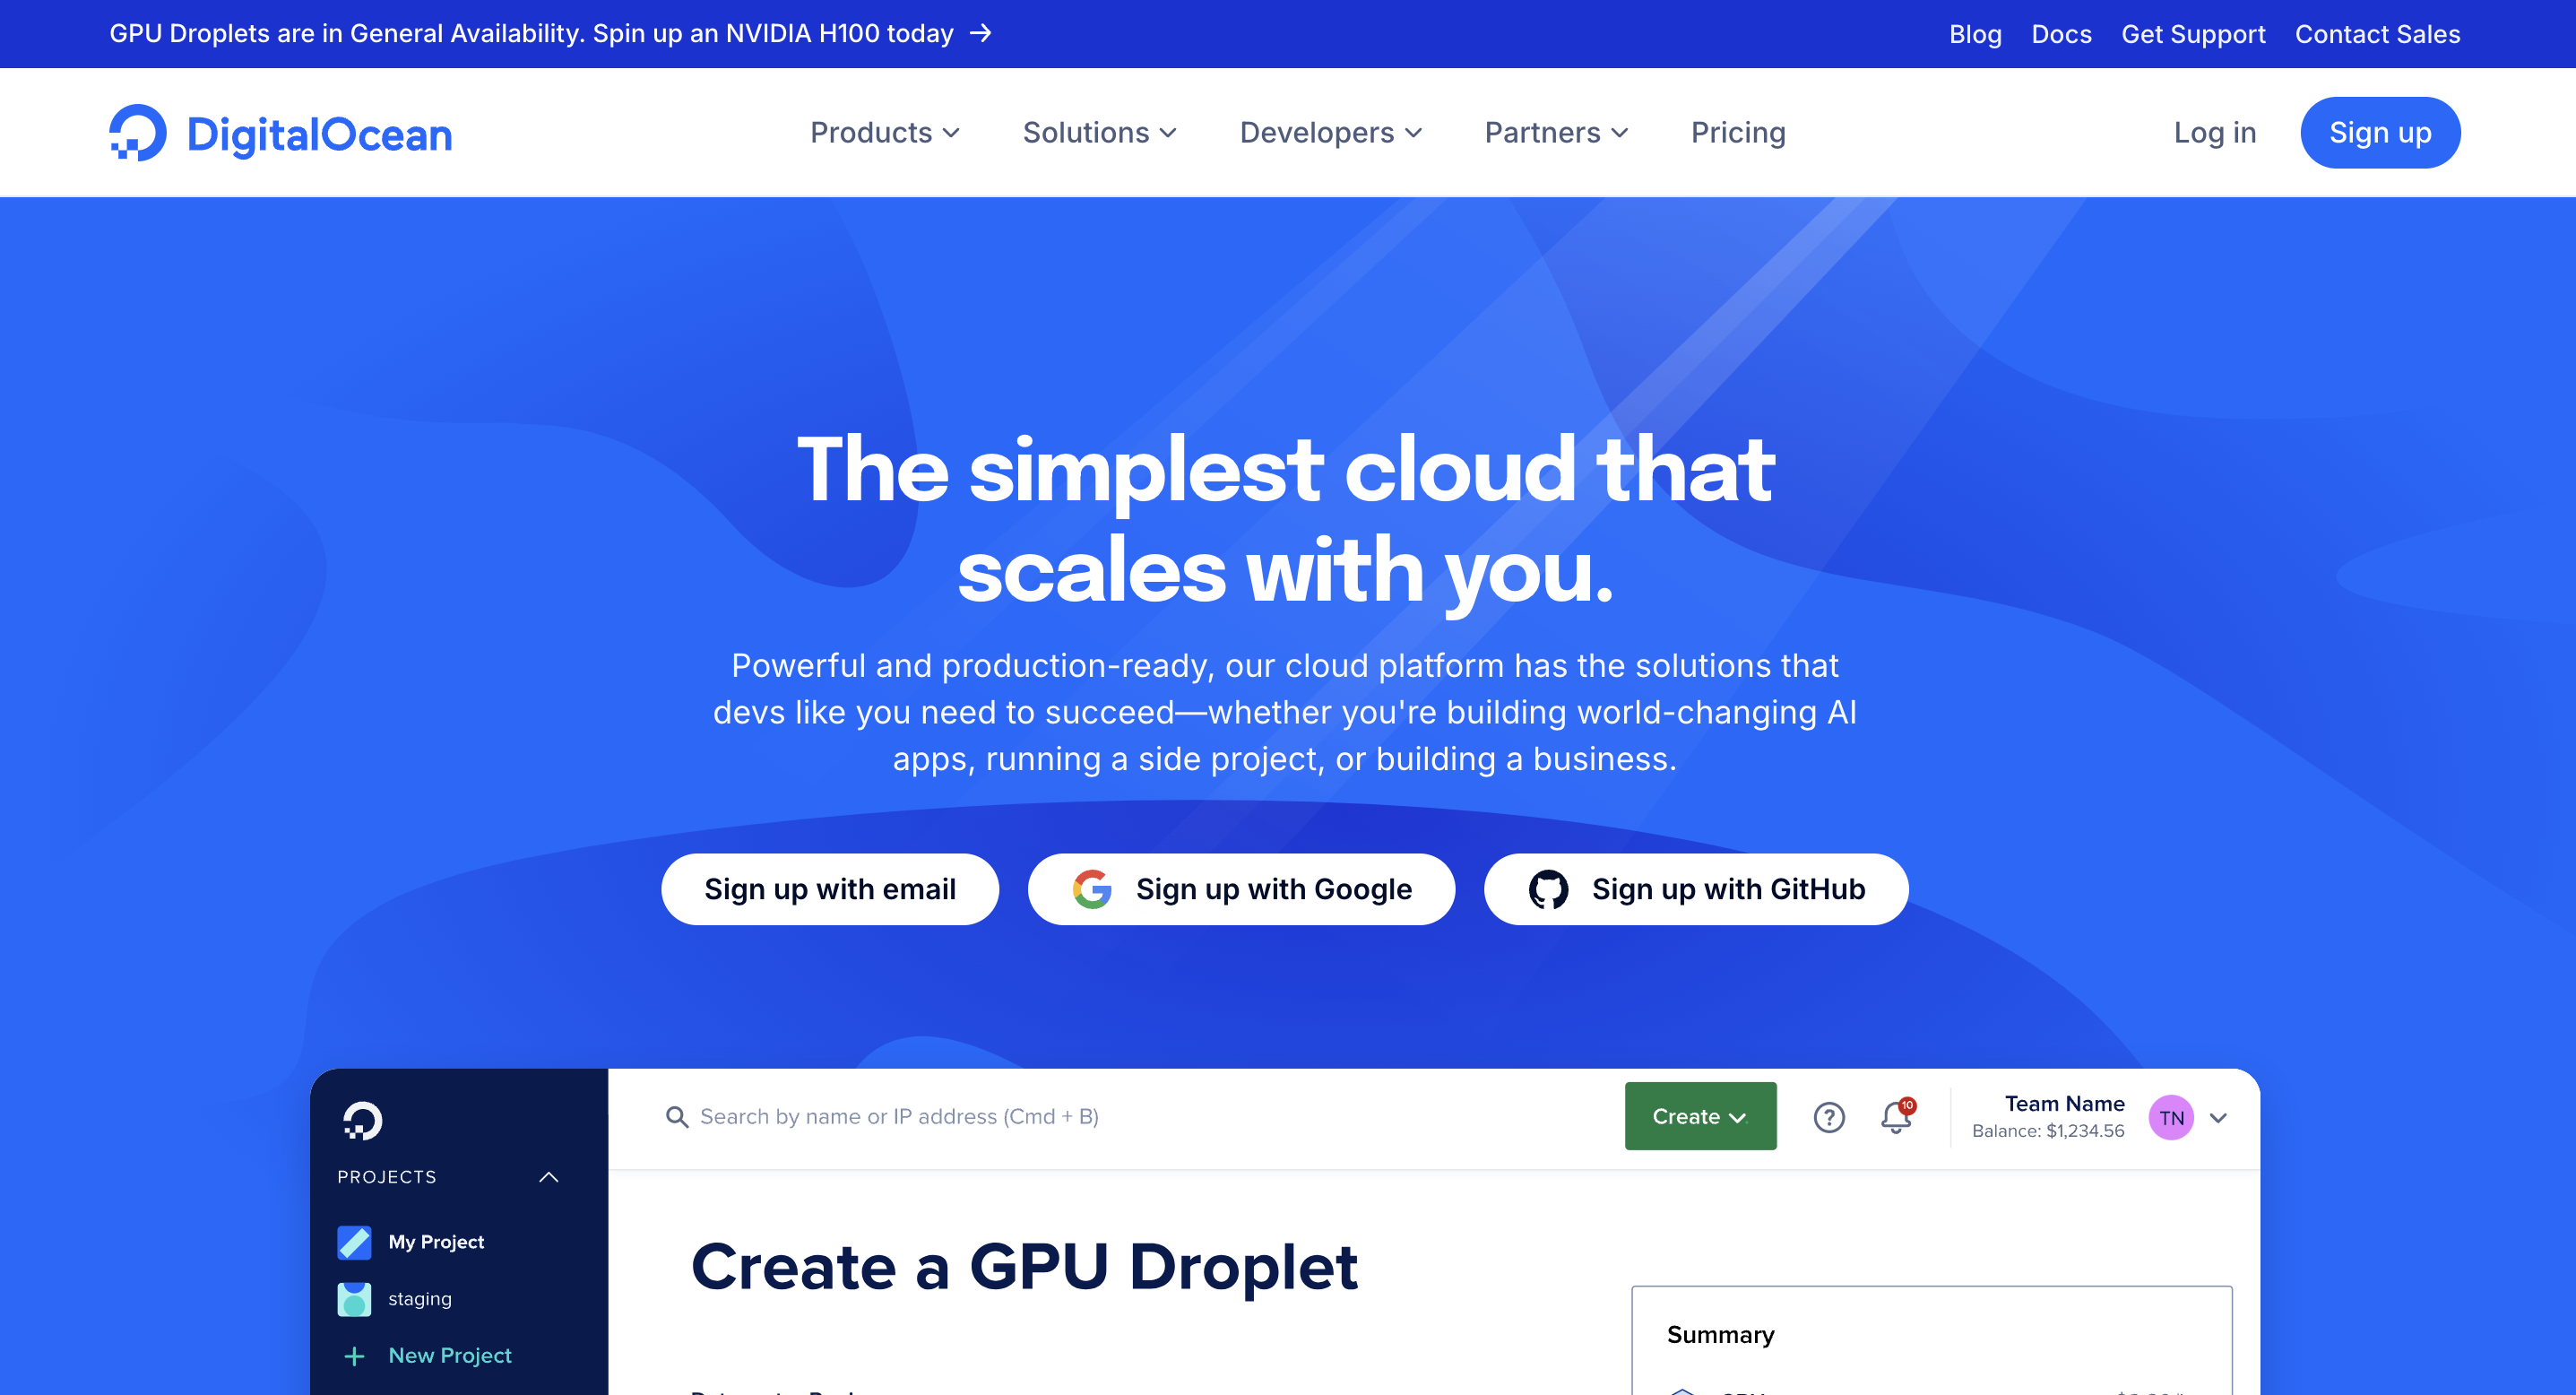
- Visit the DigitalOcean Website Go to https://www.digitalocean.com/
- Click on the "Sign Up" button in the top right corner
- Choose Your Sign-Up Method
You can sign up using:
- Google Account
- GitHub Account
- Complete any additional verification steps (if required)
- Set Up Payment Information Add a credit card or other payment method
- DigitalOcean requires a payment method to create an account
- You'll only be charged for the resources you use
Inviting Team Members
- Access Team Management Log in to your DigitalOcean account
- Click on the "Teams" section in the left sidebar
- Select "Team Management" or "Invite Team Members"
- Invite Team Members Click on "Invite Members"
- Enter the email addresses of team members you want to invite
- Choose the appropriate access level:
- Member: Can view and manage resources
- Billing: Can manage billing information
- Owner: Full account control
- Set PermissionsAssign specific project or resource permissions
- Configure access to Droplets, Kubernetes clusters, etc.
- Use the principle of least privilege for security
- Send InvitationsReview the invitations
- Click "Send Invitations"
- Team members will receive an email with instructions to join
Additional Tips
- DigitalOcean offers a $200 credit for new users to explore their services

